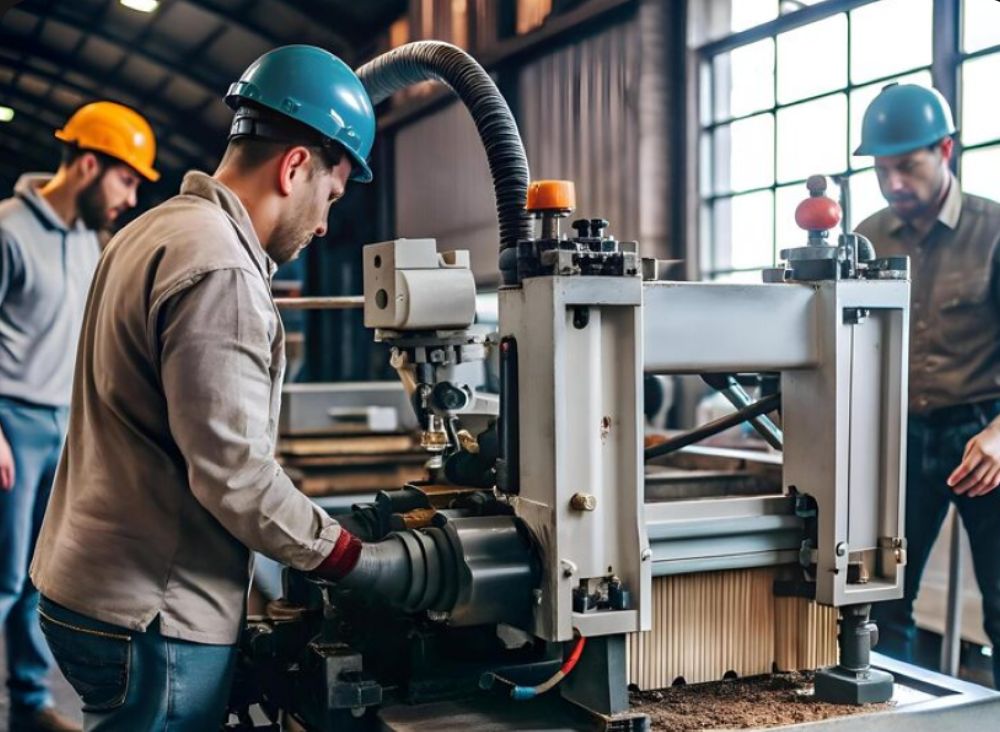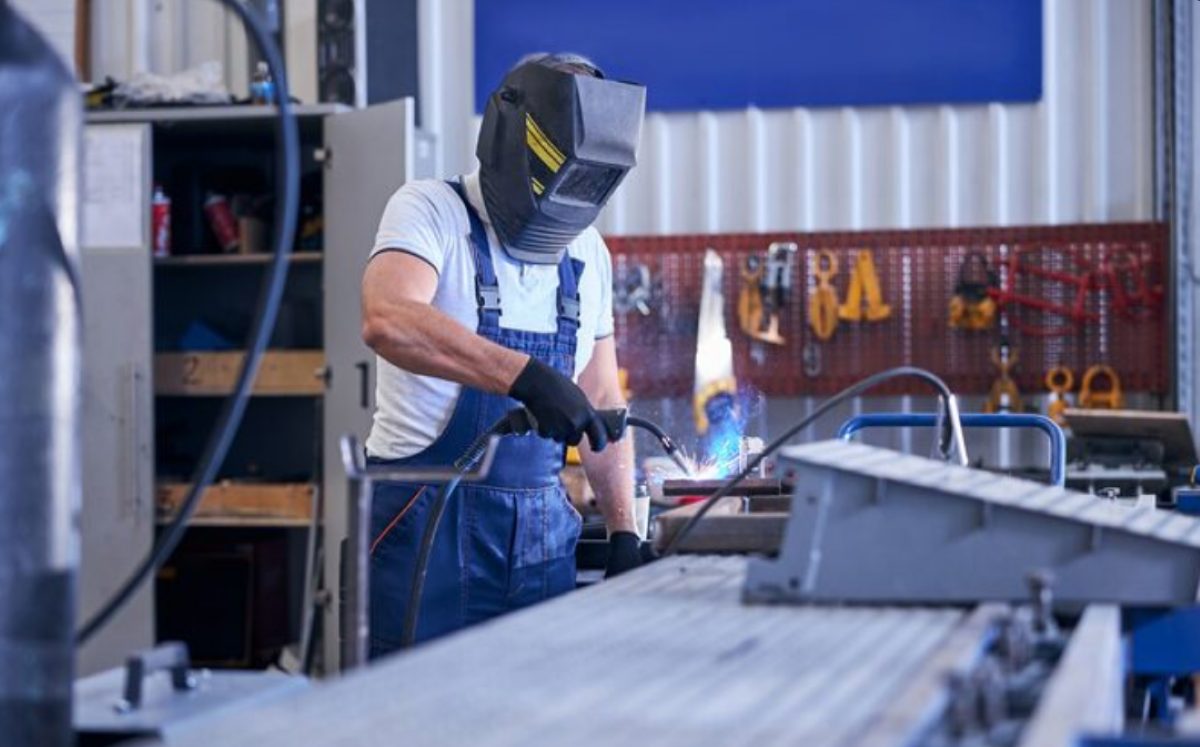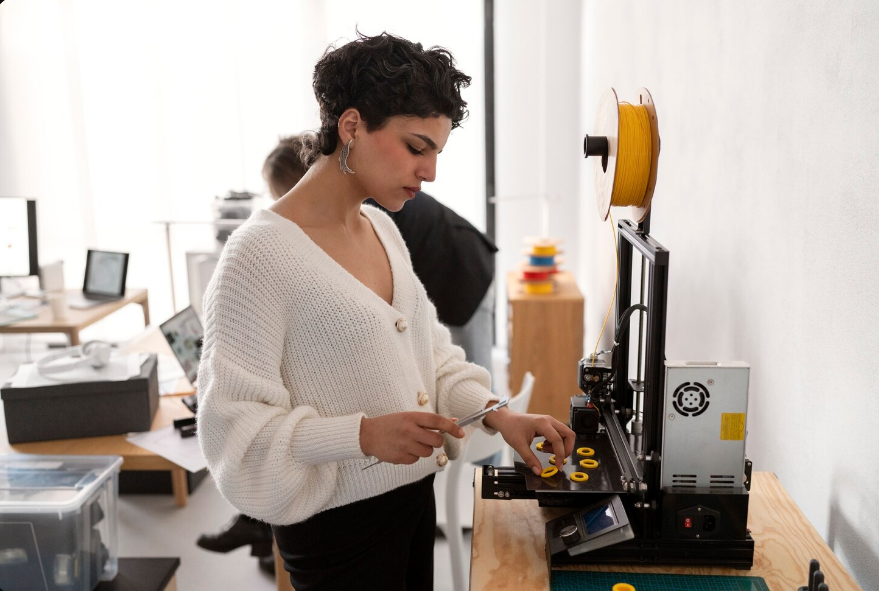
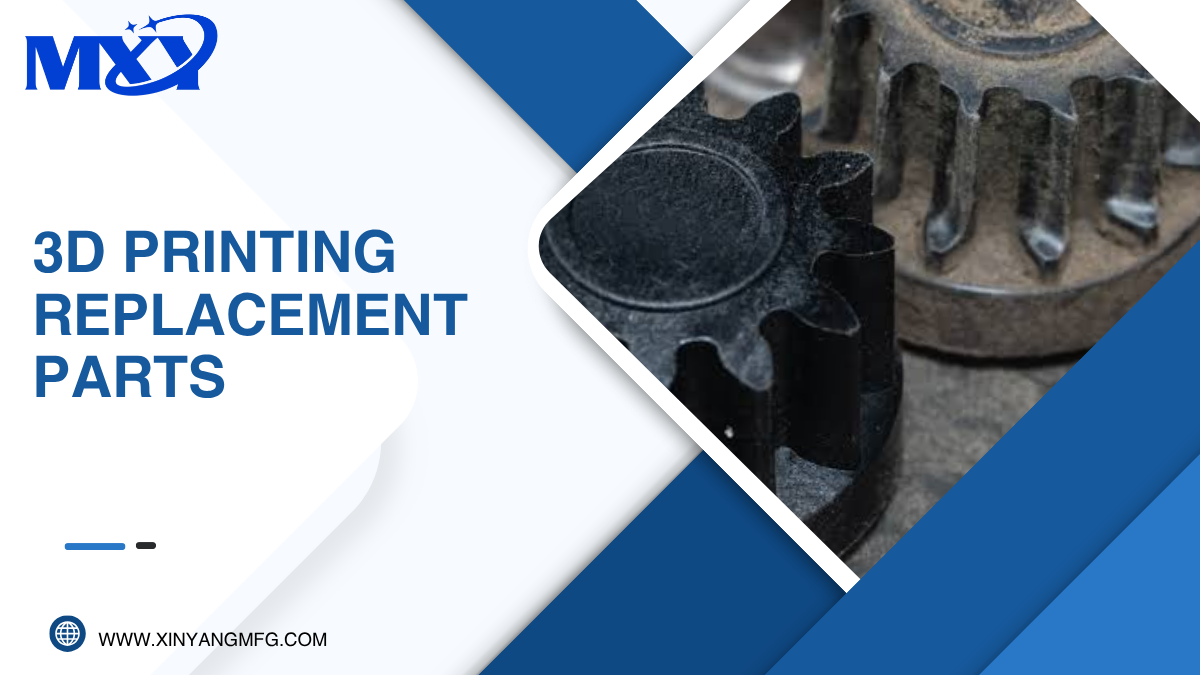
When a critical machine component fails at 2 a.m. on a Friday and the OEM lead time is six weeks, you have a problem. When a legacy part has been discontinued and the original supplier no longer exists, that problem becomes permanent. These are the exact scenarios where 3D printing replacement parts has moved from a novelty experiment to a legitimate manufacturing strategy used by maintenance teams, product engineers, and operations managers across every major industry.
This guide covers the complete process of 3D printing replacement parts, from capturing the geometry of a broken component to selecting the right printing technology and material, running production, and validating fit and function. We also address the practical limits, because 3D printing is not a universal replacement for every spare part, and knowing where it works best is just as important as knowing how it works.
En Mecanizado XY, we produce 3D-printed replacement parts across FDM, SLA, SLS, and MJF technologies, alongside Mecanizado CNC y moldeo por inyección for projects that need tighter tolerances or higher volumes. This multi-process capability means we can recommend the right manufacturing method for each replacement part, not just the one we happen to offer.
Why 3D Printing Replacement Parts?
Traditional spare parts supply chains are built around volume. OEMs manufacture replacement components in batches, stock them in warehouses, and ship them on demand. That model works well when parts are current and demand is predictable. It breaks down in several common situations:
The part is discontinued. Original equipment manufacturers routinely end-of-life components after 5 to 10 years. If your facility operates older equipment, the spare part you need may simply not exist in any catalog anymore. 3D printing lets you recreate that part from a digital file or a reverse-engineered scan of the original.
The MOQ is too high. Many injection-molded or cast replacement parts carry minimum order quantities of 500 to 5,000 pieces. If you need three brackets to fix a packaging line, ordering 500 does not make financial sense. 3D printing has no minimum order quantity; you can produce exactly the number of parts you need.
The lead time is too long. Overseas OEM spare parts often take 4 to 8 weeks to arrive. Domestic machined replacements can take 1 to 3 weeks. 3D-printed parts can ship in 1 to 5 business days depending on technology and complexity. For unplanned downtime, that time difference translates directly into revenue saved.
The part needs modification. Sometimes the original part failed because of a design weakness. 3D printing lets you improve the geometry, add reinforcement ribs, adjust wall thickness, or change material without the cost of retooling. This turns a replacement into an upgrade.
How to 3D Print a Replacement Part: Step-by-Step Process
Step 1: Capture the Part Geometry
Every 3D printing project starts with a digital file. For replacement parts, you typically obtain this geometry through one of three methods. If the original CAD file exists (STEP, STP, or SLDPRT format), you are ready to print. If a 2D technical drawing is available, a CAD engineer can model the part from the drawing dimensions. If neither exists, the broken or worn part can be 3D scanned using a structured-light or laser scanner, then the scan data is cleaned and converted into a printable solid model. At XY Machining, we accept STEP, STP, STL, SLDPRT, X_T, X_B, IPT, CATPART, PRT, SAT, 3MF, and JT files. If you only have a physical sample, we can coordinate reverse engineering.
Step 2: Evaluate Fit, Function, and Environment
Before selecting a printing technology, you need to understand the operating conditions the replacement part will face. Key questions include: What loads does the part carry (static, dynamic, impact)? What temperature range will it operate in? Will it contact chemicals, solvents, or UV light? Does it need to meet specific tolerances for mating with other components? Is the part structural, cosmetic, or both? The answers determine which 3D printing technology and material will deliver a functional, long-lasting replacement.
Step 3: Select the Right 3D Printing Technology
Not all 3D printing processes produce equivalent results. Here is how the main technologies compare for replacement part production:
FDM (Fused Deposition Modeling): Best for larger, non-cosmetic functional parts where strength matters more than surface finish. FDM prints in real engineering thermoplastics including ABS, ASA, PC, Nylon, PETG, and carbon-fiber-filled composites. Parts exhibit visible layer lines and are anisotropic (weaker along the Z-axis), so print orientation must be planned around load direction. FDM is the most cost-effective option for parts above 100 mm in any dimension.
SLA (Stereolithography): Produces high-resolution parts with smooth surfaces and tight tolerances (+/-0.05 mm). SLA works well for cosmetic replacement parts, snap-fit enclosures, and fluid-handling components. Material options include tough, flexible, heat-resistant, and biocompatible resins. SLA parts are isotropic but generally less impact-resistant than nylon-based SLS parts.
SLS (Selective Laser Sintering): The go-to technology for functional, load-bearing replacement parts. SLS prints in nylon (PA12, PA11), glass-filled nylon, and TPU without support structures, enabling complex internal geometries. Parts are isotropic with excellent mechanical properties. SLS is the closest 3D printing technology to injection-molded part quality.
MJF (Multi Jet Fusion): Similar to SLS in capability, MJF produces dense, isotropic nylon parts with fine detail resolution and fast build times. MJF is particularly cost-effective for batches of 50 to 500 identical parts because the entire build volume can be packed efficiently.
DMLS/SLM (Direct Metal Laser Sintering / Selective Laser Melting): For metal replacement parts, DMLS prints functional components in stainless steel (316L, 17-4PH), aluminum (AlSi10Mg), titanium (Ti6Al4V), and Inconel. Metal 3D printing is best reserved for geometrically complex parts where CNC machining would require extensive multi-axis setups or where the original part is no longer machinable due to discontinued tooling.
Step 4: Choose the Right Material
Material selection for a replacement part should match or exceed the mechanical and thermal properties of the original component. Here are the most commonly used materiales for 3D-printed replacement parts:
Nylon PA12 (SLS/MJF): Good all-round mechanical strength, chemical resistance, and abrasion resistance. Tensile strength around 48 MPa. Suitable for gears, brackets, clips, housings, and cable management parts.
Nylon PA11 (SLS): Higher elongation at break than PA12 (up to 40%), making it better for snap-fit parts and components that need flexibility without cracking.
Glass-Filled Nylon (SLS/MJF): 30 to 40% glass fiber content increases stiffness and heat deflection temperature. Ideal for structural brackets, motor mounts, and parts operating above 80 degrees C.
ABS (FDM): Familiar engineering plastic with good impact strength and temperature resistance up to approximately 95 degrees C. Widely used for enclosures, covers, and non-load-bearing housings.
PC (Polycarbonate, FDM): High impact strength and heat resistance up to approximately 130 degrees C. Suited for transparent or semi-transparent components, electrical enclosures, and automotive interior parts.
TPU (FDM/SLS): Flexible elastomer for gaskets, vibration dampeners, bumpers, and seals. Shore hardness typically ranges from 85A to 95A.
Stainless Steel 316L (DMLS): Corrosion-resistant metal for food-grade, chemical, and marine environment replacement parts.
Step 5: Print, Post-Process, and Validate
After file preparation and material selection, the part is printed, cleaned, and post-processed. Post-processing may include support removal, sanding, vapor smoothing (for SLS/MJF nylon), dyeing, painting, or applying a surface finish such as bead blasting or cerakote coating. The finished part is then dimensionally inspected (CMM or caliper measurement against drawing tolerances) and fit-tested against the mating components. For critical applications, a short-run functional test under operating conditions is recommended before placing the part in permanent service.
When Does 3D Printing Beat Traditional Manufacturing for Replacement Parts?
3D printing is not always the answer. Its advantages are situational, and understanding where the break-even points sit helps you make cost-effective decisions:
Quantity 1 to 200 parts: 3D printing is almost always more cost-effective than CNC machining or injection molding at these volumes, because there is no tooling cost and minimal setup time. The per-part cost of a 3D-printed nylon bracket in SLS/MJF typically ranges from $5 to $60 depending on size and complexity.
Quantity 200 to 1,000 parts: This is the crossover zone. For simple geometries, moldeo por inyección de bajo volumen with an aluminum rapid tool may become cheaper on a per-part basis than 3D printing. For complex geometries or parts that require no-tooling flexibility, 3D printing can remain competitive.
Quantity above 1,000 parts: Injection molding wins on per-part cost at these volumes. However, if the replacement part is a one-time need (e.g., a batch of 1,500 legacy brackets for a fleet retrofit with no reorder expected), 3D printing avoids the upfront mold investment entirely.
Emergency and unplanned maintenance: Regardless of quantity, if the alternative is weeks of equipment downtime costing thousands of dollars per day, 3D printing a replacement in 1 to 3 days almost always provides a positive ROI even if the per-part cost is higher than traditional methods.
Industries Using 3D-Printed Replacement Parts
Manufacturing and Industrial Equipment: Jigs, fixtures, conveyor guides, sensor brackets, cable management clips, machine guards, and knobs. These are the most common 3D-printed replacement parts because they are non-critical, geometry-specific, and often discontinued by the original equipment manufacturer.
Sector de la automoción: Interior trim clips, HVAC duct connectors, bracket replacements for classic and vintage vehicles, custom sensor mounts, and wiring harness clips.
Aerospace and Defense: Non-flight-critical maintenance tools, ground support equipment parts, interior cabin components, and legacy avionics housings. Flight-critical replacements require FAA PMA certification and are a separate regulatory pathway.
Medical Devices and Lab Equipment: Instrument housings, reagent tray components, custom adapters for legacy lab analyzers, and patient-specific surgical guides. Biocompatible resins (ISO 10993) are available for patient-contact applications.
Electrónica de consumo: Battery covers, button caps, screen bezels, port covers, and stand components for products where OEM replacements are no longer available.
Robótica y automatización: End-effector fingers, cable chain links, sensor housings, motor mounts, and custom adapters. Robotics teams frequently 3D print spares to minimize line-down time during commissioning and production ramp.
Limitations and Honest Trade-Offs of 3D-Printed Replacement Parts
No manufacturing process is perfect for every application. Here are the practical limitations you should account for:
Mechanical properties differ from injection-molded parts. Even the best SLS nylon parts have 10 to 20% lower tensile strength and impact resistance compared to the same resin processed through injection molding. For load-critical parts operating near the material limit, this matters.
Surface finish is rarely equivalent to molded or machined parts. FDM parts show layer lines. SLS/MJF parts have a grainy, matte texture. SLA comes closest to a smooth finish but requires post-curing and careful handling. If cosmetic equivalence to the original part is a hard requirement, post-processing adds time and cost.
Size constraints exist. Most industrial 3D printers have build volumes under 400 mm x 400 mm x 400 mm. Larger replacement parts must be printed in sections and assembled, which adds joints and potential failure points.
Temperature and chemical exposure limits vary. Standard FDM and SLA materials soften at relatively low temperatures (60 to 90 degrees C). If the replacement part operates in a high-heat or chemically aggressive environment, material selection becomes critical and may push toward PEEK (FDM) or metal printing (DMLS), both of which are significantly more expensive.
Regulatory and certification requirements. In regulated industries (aerospace, medical, food processing), a 3D-printed replacement part may need to meet the same certification standards as the original. This does not disqualify 3D printing, but it adds validation steps and documentation requirements.
3D Printing vs. CNC Machining for Replacement Parts: When to Choose Which
For metal replacement parts and parts requiring tight tolerances (+/-0.025 mm or better), CNC machining is usually the better choice. CNC delivers superior surface finish, material strength equivalent to wrought stock, and tolerance capabilities that current 3D printing cannot match for most geometries.
3D printing wins when the part has complex internal features (channels, lattices, organic geometry), when no tooling or fixturing exists for the part, when the quantity is under 50, or when lead time is the primary constraint. Many replacement part programs use both processes: 3D print a functional stopgap part for immediate use, then CNC machine a permanent replacement with full material properties once lead time allows.
Preguntas frecuentes
Can 3D-printed replacement parts be as strong as the original?
In many cases, yes. SLS nylon and MJF nylon parts can match or exceed the strength of injection-molded ABS and unfilled polypropylene. For glass-filled engineering resins or metals, 3D-printed parts may have 10 to 20% lower ultimate strength but are often adequate for the application. Matching the original material exactly is not always necessary if the replacement material meets the functional load requirements.
How much does it cost to 3D print a replacement part?
Costs vary widely based on technology, material, and part volume. A small FDM nylon bracket might cost $3 to $10. A complex SLS nylon assembly could run $30 to $80. Metal DMLS parts typically start at $100 and can exceed $500 for larger components. The key comparison is not per-part cost alone but total cost including downtime avoided.
What file do I need to 3D print a replacement part?
A 3D CAD file in STEP, STP, or STL format is ideal. If you do not have a CAD file, the part can be reverse-engineered from a physical sample using 3D scanning or manual measurement. 2D drawings with full dimensions can also be used to recreate the model.
How fast can I get a 3D-printed replacement part?
At XY Machining, typical turnaround for 3D-printed parts is 1 to 5 business days depending on technology, post-processing requirements, and shipping destination. Expedited orders can ship in 24 to 48 hours for simple FDM and SLA parts.
Can I 3D print metal replacement parts?
Yes. DMLS and SLM technologies print functional metal parts in stainless steel, aluminum, titanium, and Inconel. Metal 3D printing is most cost-effective for complex geometries, low quantities (1 to 20 parts), and parts that would require expensive multi-axis CNC setups to machine conventionally.
Is it legal to 3D print a replacement part for a product still under warranty?
3D printing a replacement part for personal or facility use is generally legal. However, installing a non-OEM part may void the product warranty. For regulated equipment (medical devices, pressure vessels, aviation components), replacement parts may need to meet specific certification standards regardless of manufacturing method.
What if my replacement part needs to be watertight?
SLA and MJF produce the most reliably watertight 3D-printed parts due to their fully dense cross-sections. FDM parts can be made watertight with proper print settings (100% infill, optimized wall count), but are more prone to inter-layer leakage. For fluid-handling applications, post-processing with sealant coatings or vapor smoothing can further improve seal integrity.
Can 3D-printed parts handle high temperatures?
Standard PLA and ABS soften at 55 to 95 degrees C. For higher temperatures, use PEEK (up to 250 degrees C continuous, FDM), Ultem/PEI (up to 217 degrees C, FDM), or glass-filled nylon (up to 170 degrees C, SLS). For metal applications, DMLS stainless steel and Inconel handle temperatures well above 500 degrees C.
How do I know if my part is a good candidate for 3D printing?
Good candidates are plastic or polymer parts under 300 mm in any dimension, with moderate tolerance requirements (+/-0.1 mm or wider), operating below 150 degrees C, and needed in quantities under 500. If you are unsure, upload your CAD file for a free evaluation and our engineering team will recommend the best manufacturing method.
Conclusión
3D printing replacement parts has evolved from a workaround into a mainstream manufacturing strategy for maintenance teams, engineering departments, and operations managers. It eliminates the dependency on OEM spare part availability, removes minimum order quantity barriers, and compresses lead times from weeks to days. The technology works best for plastic and polymer parts in quantities under 500, for legacy and discontinued components, and for emergency maintenance situations where downtime costs outweigh per-part cost differences.