簡単な答え: Sheet metal prototyping services turn a CAD file into a functional metal part — an enclosure, bracket, chassis, or panel — in days rather than weeks, using laser cutting, bending, and finishing without the hard tooling that mass production needs. Because there is no stamping die to build, prototypes are fast and cheap to iterate, which is exactly what hardware teams need when a design is still moving. The trade-off is a slightly higher per-part cost than stamped production, which disappears once you scale.
Every hardware startup I have worked with hits the same wall: the electronics work on a breadboard, but nothing is real until it lives inside a metal enclosure that fits, mounts, and survives a drop. Sheet metal prototyping is how you get there without committing to tooling you might redesign next month.
What sheet metal prototyping actually involves
Sheet metal prototyping takes a flat sheet of metal and turns it into a 3D part through cutting, bending, and joining — all driven directly from your CAD model. Unlike production stamping, it uses no custom die, so you can change the design between iterations for the cost of re-cutting a sheet.
The typical workflow:
- CAD and flat pattern: your 3D model is unfolded into a flat blank with correct bend allowances.
- Cutting: laser cutting (or punching) produces the flat blank with all holes and cutouts.
- Forming: a press brake bends the flat blank to final geometry. Bend design matters enormously here; our 板金曲げ設計ガイド covers it.
- Joining: welding, riveting, or hardware insertion (PEM nuts, standoffs).
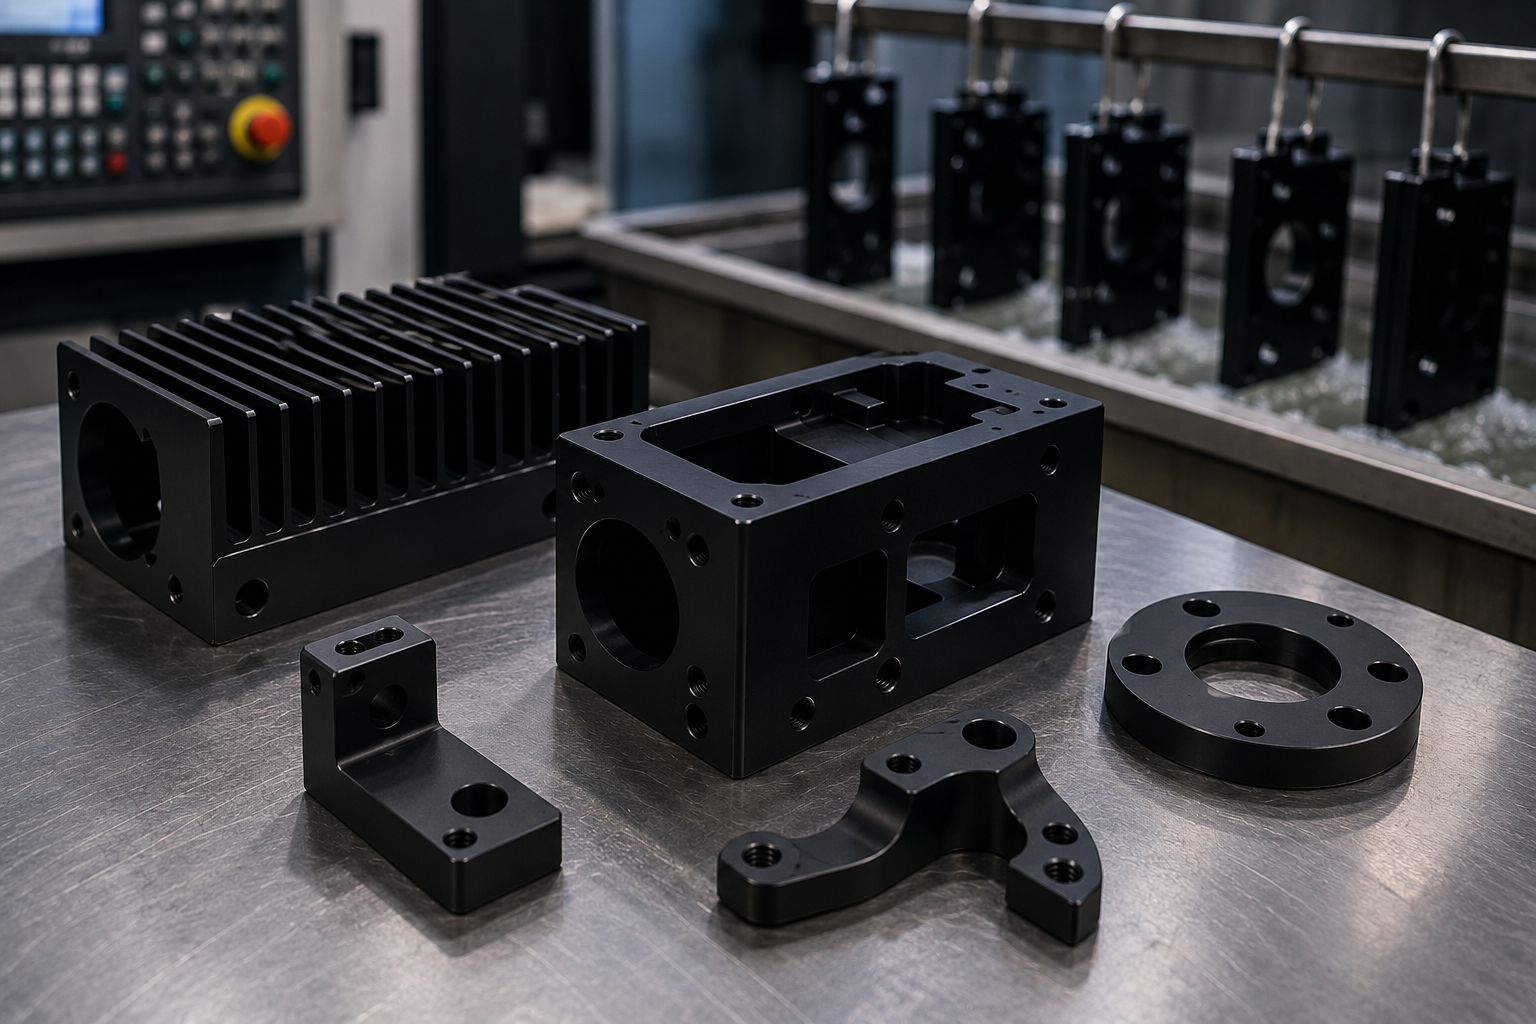
- Finishing: deburring, then plating, powder coat, or anodizing.
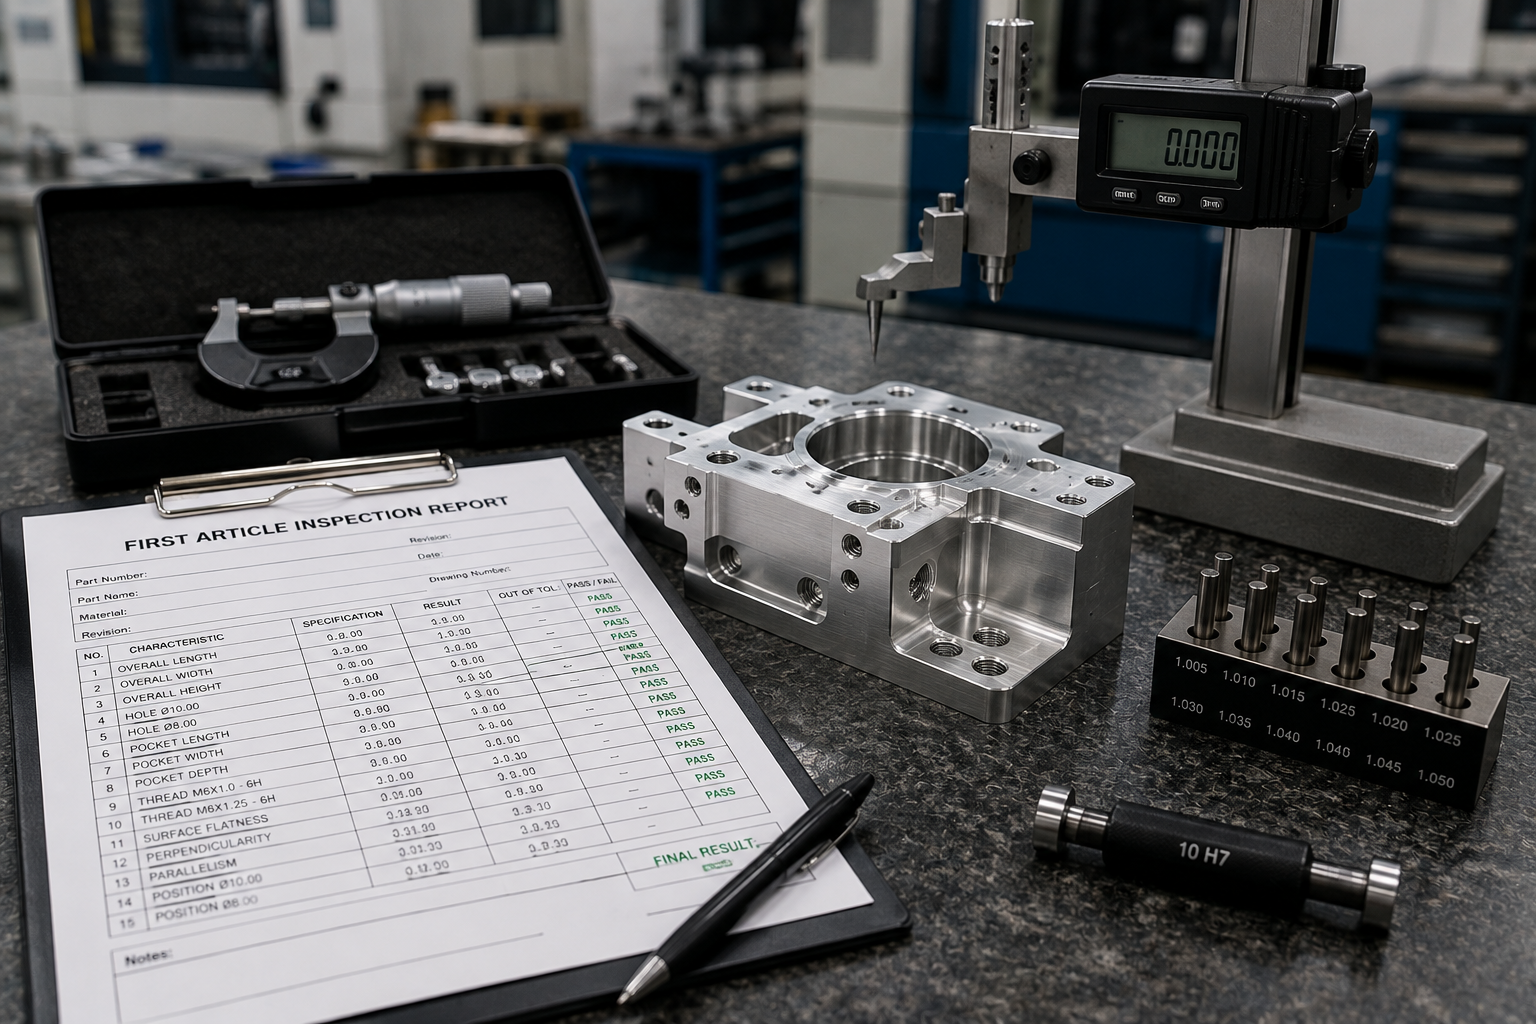
- Inspection: dimensional check against the drawing before it ships.
Why prototype in sheet metal instead of 3D printing
Both are fast, but they answer different questions. A 3D print tells you if the geometry fits. A sheet metal prototype tells you if the real product works — same material, same stiffness, same thermal behavior, same finish as production.
| 因子 | Sheet metal prototype | 3D printed prototype |
| Material realism | Actual production metal | Plastic or sintered metal |
| Structural accuracy | High — real stiffness | Approximate |
| こんな方に最適 | Enclosures, chassis, brackets | Complex organic shapes, fit checks |
| Path to production | Same process scales up | Usually needs redesign for volume |
| 一般的なリードタイム | 3~7日 | 1~3日 |
For enclosures and structural parts, sheet metal prototyping wins because the prototype は the product, just in small quantity. If your part is a complex freeform shape, weigh it against 3D printing vs CNC machining.
Materials for sheet metal prototypes
Choosing the right material early avoids a redesign later. The common options:
| 素材 | Strengths | Watch-outs | 代表的な用途 |
| Aluminum 5052 | Excellent for bending, corrosion-resistant | Softer, dents | Enclosures, panels |
| Cold-rolled steel | Cheap, strong, easy to weld | Rusts without finish | Brackets, frames |
| Stainless 304 | Corrosion-resistant, strong | Harder to bend, pricier | Outdoor, food, medical |
| Galvanized steel | Built-in corrosion resistance | Coating cracks at tight bends | Structural, chassis |
| 銅/真鍮 | Conductive, attractive | Expensive, soft | Electrical, decorative |
Aluminum 5052 is the default for most electronics enclosures because it bends cleanly and finishes well. Steel wins when strength-per-dollar matters more than weight.
Tolerances and design rules that keep prototypes cheap
Sheet metal has its own physics, and fighting them is expensive. A few rules that separate a clean first article from a costly re-cut:
- Keep bends consistent. Use one bend radius throughout where possible; each new radius may mean a new tool.
- Respect minimum flange length. Flanges shorter than the material can bend will deform.
- Hole-to-edge distance must clear the bend zone, or holes distort during forming.
- Design for the flat pattern. Every 3D feature must survive being unfolded and re-bent.
These map directly to design-for-manufacturing principles. Our DFM for sheet metal guide turns these into concrete numbers. Getting them right up front is the difference between a 3-day prototype and a 3-day prototype that arrives wrong.
Lead times and cost drivers
Speed is the whole point of prototyping, so here is what actually moves the timeline and the price.
| Cost / time driver | Effect | How to manage it |
| Number of unique bends | More setups on the press brake | Simplify geometry |
| Finishing (anodize, powder coat) | Adds 2–4 days | Skip finish on early iterations |
| Tight tolerances | Slower forming, more inspection | Tighten only where it matters |
| Welding vs fasteners | Welding adds skilled labor | Use PEM hardware where possible |
| 数量 | 1 vs 25 changes per-part cost | Prototype in the quantity you will test |
A bare, unfinished aluminum bracket can ship in 3 days. Add a welded assembly, a tight tolerance stack, and a Type III anodize, and you are looking at 7–10. Knowing which features you actually need to test lets you buy speed where it counts.
From prototype to production
The best reason to prototype in sheet metal is continuity. The same laser-cut-and-bend process that makes your first article scales to hundreds of parts with no tooling change. When volumes climb high enough, you might move to stamping — and at that point the comparison in 板金成形とプレス加工の比較 becomes the decision to make. Until then, fabrication keeps your iterations fast and your capital free.
For a full breakdown of what these parts cost at different quantities, see our 板金加工のコスト ガイド。.
A common startup mistake — and how to avoid it
The pattern I see most often with first-time hardware teams is prototyping the enclosure too late, after the PCB and internals are locked. By then the metal has to bend around fixed constraints, and every awkward clearance becomes an expensive custom feature. The teams that ship on time do the opposite: they cut a rough sheet metal shell early, even before the electronics are final, purely to learn how the real material behaves — how it bends, where it flexes, how the fasteners seat, how hot it runs. That first cheap shell is not meant to be perfect. It is meant to surface the problems while they are still free to fix. By the time the design freezes, the enclosure has already been through three quiet iterations and fits on the first production attempt. Prototyping is not the last step before manufacturing; on the mechanical side, it is one of the first.
よくある質問
How fast can I get a sheet metal prototype? A simple bracket or flat panel in a common material can be cut, bent, and shipped in about 2–3 business days. A functional enclosure with several bends, inserted hardware, and a basic finish typically runs 4–7 days. Adding welding, tight tolerances, or a premium finish like Type III anodize pushes it toward 7–10 days. The single biggest lever on speed is finishing — skipping it on early iterations, when you only need to check fit and function, can cut days off the timeline.
What is the minimum quantity for sheet metal prototyping? There is effectively no minimum — you can order a single part, which is exactly why sheet metal prototyping suits hardware development. Because the process uses no hard tooling, one part and twenty-five parts differ mainly in material cost, not setup. That said, prototype in the quantity you actually plan to test. If you need five units for field trials, order five, not one, so your test data reflects real part-to-part variation.
Will my sheet metal prototype match production parts? Yes, more closely than almost any other prototyping method, because the process is the same. Laser cutting and press-brake bending scale directly from one part to hundreds without a process change, so your prototype shares the production part’s material, stiffness, finish, and tolerances. The only real difference appears if you later switch to stamping at very high volume, which can shift some tolerances and radii — worth planning for, but not a concern during development.
Can sheet metal prototyping handle complex assemblies? It handles multi-part assemblies well — enclosures with welded seams, riveted panels, and pressed-in fasteners are routine. What it does not do is complex freeform or organic 3D shapes, which belong to machining or 3D printing. For a product that combines a sheet metal chassis with a machined mounting boss, a good fabricator coordinates both processes so the parts fit on first assembly, which is where an integrated manufacturer earns its value.
Getting it right from the first cut
Sheet metal prototyping services give hardware teams the fastest realistic path from CAD to a functional metal part — no tooling, low quantities, and a process that scales straight into production. Design to the sheet metal rules, finish only what you need to test, and prototype in your real test quantity. Do that, and every iteration teaches you something true about the product instead of an approximation of it.
著者について パトリック・チェン — XY Machining アプリケーションエンジニア パトリックは、XY Machining社において、米国のエンジニアリングチーム向けに薄肉部品の設計をレビューするとともに、繊細な部品を公差内に収めるための治具や工具経路について、現場の作業員と連携して取り組んでいます。見積もりを出す前に薄肉部品の耐圧試験を行うには、, モデルを弊社チームにお送りください.